In this article
You don’t make one YouTube Short. You build a system that keeps producing them.
Most creators figure out how to film a single Short, then stall out because they never built a repeatable process. There are three separate ways to create a Short on YouTube, and most channels only use one. Here is the full system: every creation method, the exact specs, and a workflow that gets you posting consistently instead of scrambling for your next upload.
Before You Start
Get these in place before you open the app:
- A YouTube channel (personal or brand) with upload access
- A phone with a camera, or existing video footage on your device
- A running list of 5-10 content ideas (even rough ones)
- The YouTube app installed, or access to YouTube Studio for desktop
- A free editing app if you plan to edit outside YouTube’s native tools
You do not need a full production setup. Every method below works from a phone.
Step 1: Pick the Creation Method That Fits Your Content
YouTube gives you three distinct ways to build a Short, and picking the right one for each idea saves time.
Record in-app. Open the YouTube app, tap Create, then Create a Short. This gives you access to YouTube’s built-in camera, timer, speed controls, and audio library in one place. Best for talking-head content, quick tips, and anything you’re filming fresh.
Upload existing footage. If you already have vertical video on your camera roll, whether from a phone shoot or another app, upload it directly and let YouTube auto-detect it as a Short based on length and aspect ratio. Best for repurposing content you filmed for another platform.
Remix or sample another video. YouTube’s Remix tools let you sample audio or clips from existing YouTube content (yours or, where permitted, another creator’s) and build a new Short around it. Per YouTube’s Remix documentation , this includes Green Screen (turn a video into a background), Cut (trim a segment from a longer video), and Sound Sampling (pull audio from another video). Best for reacting to trends or repurposing your own long-form catalog.
Most consistent channels rotate between all three depending on the idea, rather than defaulting to one method every time.
Step 2: Confirm the Specs Before You Film
Getting the format right the first time saves a re-shoot later. These are the specs YouTube’s Shorts system expects:
| Spec | Requirement |
|---|---|
| Aspect ratio | 9:16 (vertical) |
| Minimum resolution | 1080 x 1920 |
| Maximum length | Up to 3 minutes |
| Best-performing length | 15-60 seconds for most tutorial and opinion content |
| File format (upload) | MP4 or MOV |
Per YouTube’s official Shorts creation guidelines , full-frame vertical footage gives the algorithm a cleaner signal than cropped horizontal video, since nothing is padded or cut off. If you’re filming natively for the first time, set your phone camera to vertical before you press record, rather than shooting horizontal and cropping after the fact.
Step 3: Build a Minimal Gear Setup
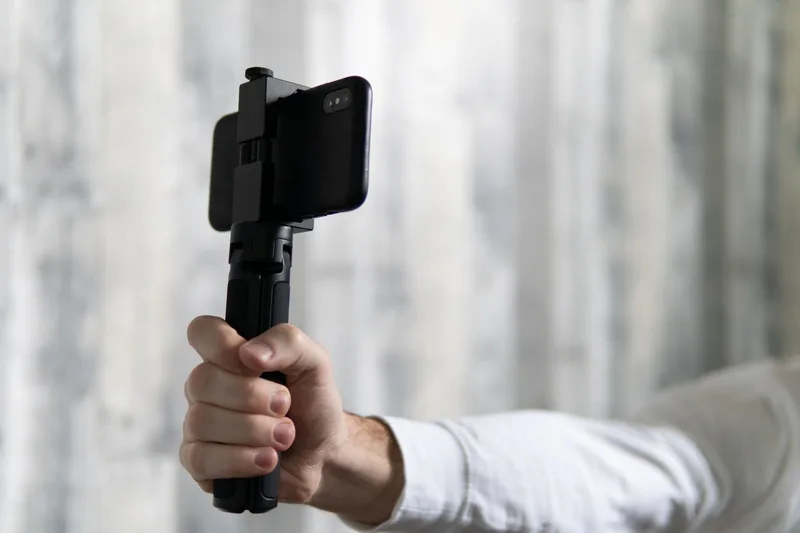
None of this requires a studio. A basic setup covers nearly every format of Short:
- Phone with a decent camera. Most phones from the last four years shoot clean enough 1080p vertical video.
- A simple tripod or phone stand. Keeps the frame steady for talking-head and demo content. A stack of books works in a pinch.
- A quiet space or a clip-on mic. Background noise is one of the fastest ways to lose a viewer in the first two seconds.
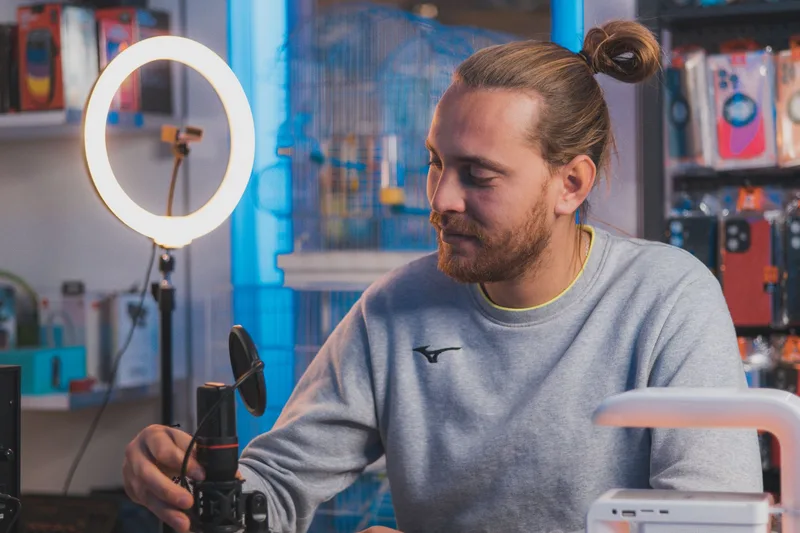
- Consistent lighting. A window facing your subject or a small ring light removes the need for a full lighting rig.
Upgrade gear only after you’ve published consistently for a few weeks and know which format you’re sticking with.
Step 4: Build an Idea System, Not a Single Idea
A one-off Short idea gets you one upload. A system gets you a channel.
Keep a running list (a notes app, a spreadsheet, whatever you’ll actually open) and add to it constantly:
- Questions your audience asks in comments or DMs
- Points from a long-form video that work as a standalone clip
- Reactions to a trend, tool update, or platform change in your niche
- One-sentence tips you’d normally mention in passing
Each entry should be a single sentence. If you can’t summarize the idea in one sentence, it’s too broad for a Short and belongs in a long-form video instead. Aim to keep at least five ideas banked at any time, so you’re never staring at a blank screen deciding what to make next.
Step 5: Film or Select Your Source Clip
With your method (Step 1) and specs (Step 2) confirmed, produce the raw footage:
- Recording fresh: Keep takes short. Film in segments rather than one long continuous take, so editing is faster.
- Repurposing existing footage: Scan your camera roll or long-form catalog for a self-contained moment, roughly 15-60 seconds, that makes sense without the surrounding context.
- Remixing: Select the source video, choose Cut, Green Screen, or Sound Sampling from YouTube’s Remix menu, and layer your new content on top.
Whichever path you take, keep the core idea from Step 4 in view. It’s easy to drift into a longer, less focused clip once you start filming.
Step 6: Edit for Vertical, Captions, and Pace
Editing a Short prioritizes momentum over polish. At minimum:
- Cut dead air. Remove pauses and false starts so nothing feels wasted.
- Add captions. A large share of viewers watch with sound off. Burned-in captions keep your message intact either way.
- Frame for vertical. If you shot or pulled a horizontal clip, reframe manually so the subject stays centered, rather than applying an automatic crop and moving on.
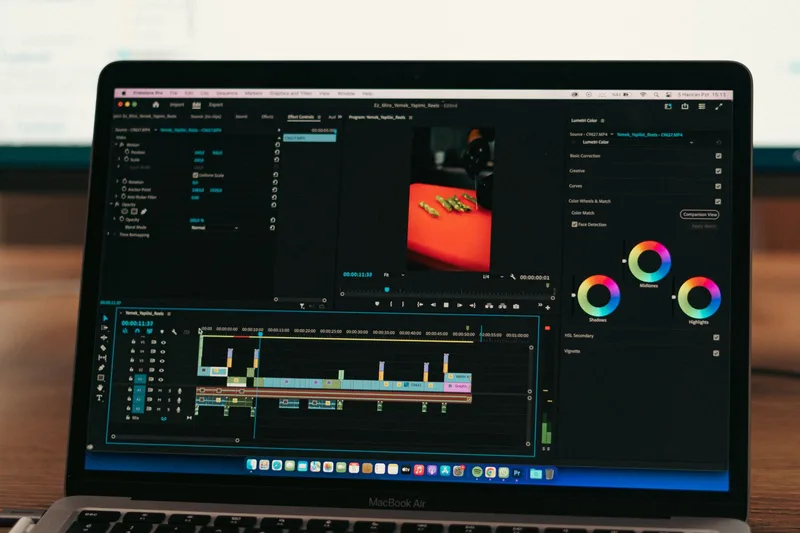
Free tools that handle all of this from a phone include CapCut, InShot, and YouTube’s own built-in Shorts editor. For the specific mechanics of writing a hook and building a cut rhythm, see our full breakdown on making a single Short .
Step 7: Add Audio and Publish Settings
Pick audio that matches your content’s tone. Trending sounds can extend your reach beyond existing subscribers, but a mismatched pairing (a serious topic under a comedic trending sound, for example) confuses viewers and increases swipe-away rate. Original voiceover works fine for tutorial or explainer content.
Before you publish:
- Write a specific title that includes your target topic naturally, without stuffing keywords.
- Add
#Shortsin the title or description as a clear signal to the system and to viewers browsing the Shorts shelf. - Add 3-5 relevant tags, skipping broad ones like #viral that dilute targeting.
- Set visibility to Public, or Scheduled if you’re batching (see Step 8).
- Publish.
For the ranking signals that determine how far a published Short travels, see our YouTube Shorts algorithm breakdown .
Step 8: Batch Production and Set a Posting Cadence
This is the step that turns “I made a Short” into “I have a Shorts channel.”
Set aside one block of time weekly (or biweekly) to film or select several clips at once. Editing in a batch is faster than starting cold each time, since your gear, lighting, and editing app are already open. Schedule the finished Shorts across the week rather than publishing everything the same day.
Check performance in YouTube Studio under Content, filtered to Shorts, after each upload has had 24-48 hours. Completion rate and average percentage viewed are the two numbers to look at first, and they’ll tell you which ideas from your Step 4 list to make more of. For guidance on when in the week to schedule your posts, see our guide on the best time to post on YouTube .
Want the full breakdown of what actually drives Shorts distribution? Download the free Algorithm Decoder , platform signals and posting mechanics explained in plain language. Free. No pitch.
Common Mistakes When Making YouTube Shorts
Mistake 1: Using only one creation method
Defaulting to recording fresh every time ignores two other paths (upload and remix) that are often faster for the same idea. Match the method to the content, not the other way around.
Mistake 2: Filming without an idea bank
Starting from zero every session leads to inconsistent posting and rushed ideas. A running list of five or more one-sentence ideas removes that friction.
Mistake 3: Skipping the specs check
Filming horizontal and cropping later, or going over the length that fits your content type, means re-editing or re-shooting. Confirm aspect ratio and target length before you press record.
Mistake 4: Publishing without captions
Sound-off viewing is common on Shorts. A Short with no captions loses viewers who can’t or won’t turn sound on, particularly before they’ve decided to engage further.
Mistake 5: Judging the system after one or two uploads
Shorts performance varies video to video, especially early on. Compare averages across at least 8-10 uploads, produced through the batch workflow in Step 8, before deciding what’s working.
Frequently Asked Questions
How do I make a YouTube Short?
Choose one of three methods: record in-app through Create a Short, upload existing vertical footage, or remix another video using Cut, Green Screen, or Sound Sampling. Film or select a clip under 60 seconds for most content, edit for captions and pace, then publish with a specific title and 3-5 tags.
What are the three ways to make a YouTube Short?
Recording fresh in the YouTube app’s built-in camera, uploading existing vertical footage from your camera roll, and remixing another video through YouTube’s Remix tools (Cut, Green Screen, or Sound Sampling). Most consistent creators use all three depending on the idea.
What length should a YouTube Short be?
YouTube allows Shorts up to 3 minutes, but 15-60 seconds performs most consistently for tutorial and opinion content, since shorter videos tend to hold a higher percentage of viewers to completion. Multi-step content can extend toward 60 seconds if the pacing stays tight.
Do I need editing software to make YouTube Shorts?
No. Free mobile apps like CapCut, InShot, and YouTube’s own built-in Shorts editor handle cuts, captions, and text overlays without a paid subscription. Many creators produce a full batch of edited Shorts entirely on a phone.
How often should I make and post YouTube Shorts?
There’s no single required cadence, but batching multiple Shorts in one session and scheduling them across the week keeps output consistent without daily production pressure. Compare completion rate in YouTube Studio across at least 8-10 uploads to find a sustainable pace for your channel.
Keep Reading
- How to Make a YouTube Short: The Complete 2026 Guide : the deep dive on hooks, editing pace, and endings for a single Short
- YouTube Shorts Algorithm Explained : the ranking signals referenced in Step 2 and Step 8
- How to Get More Views on YouTube Shorts : what to do once your Shorts are live and you’re optimizing for reach
What to Do Next
Choose the path that fits where you are right now.
Score your last 10 Instagram posts against the 6 signals.
Free Algorithm Decoder. The 6 signals Instagram ranks on, their weights, and a self-audit scorecard for your last 10 posts. 15-minute audit.
Send Me the Algorithm DecoderTake the Growth Scorecard
Find your highest-leverage next step before you keep posting.
Take the ScorecardRelated Articles
How to Make a YouTube Short: The Complete 2026 Guide
Learn how to make a YouTube Short step by step: shoot vertical, hook viewers in 2 seconds, edit, add audio, and publish for maximum reach.
Best Time to Post on YouTube in 2026: A Data-Backed Guide
Best time to post on YouTube depends on your audience's watch habits. Find your peak upload window using YouTube Studio data.
Best YouTube Thumbnail Size: The Complete Setup Guide (2026)
The best YouTube thumbnail size is 1280x720 pixels at 16:9 aspect ratio. Here is how to set it up correctly, avoid common mistakes, and check your results.